 Artificially generated image
 Pro Concrete Care: How to Repair Driveway Cracks
A cracked driveway rarely starts as a dramatic problem; it begins as a thin line that traps water, dirt, and doubt. Left alone, that line can widen with traffic, weather swings, and winter freeze-thaw cycles until a simple repair turns into a bigger expense. Learning how to patch concrete, protect the surface, and spot early warning signs helps homeowners keep costs in check. This guide walks through practical fixes, smart maintenance habits, and realistic DIY choices that improve function as much as appearance.
Outline and First Steps: Understanding What Your Driveway Is Telling You
Before opening a bucket of filler or buying a caulk gun, it helps to begin with a clear plan. A driveway is not just a slab of gray material sitting quietly in front of the house. It is a surface that absorbs sunlight, sheds rainwater, carries vehicles, and reacts to every season. When concrete cracks, it usually reflects movement, moisture, wear, or age rather than random bad luck. Starting with an outline makes the repair process easier to follow and reduces the chance of choosing a product that looks right on the shelf but performs poorly outdoors.
- Inspect the crack pattern and measure width, depth, and movement.
- Identify likely causes such as water intrusion, freeze-thaw cycles, soil settlement, or heavy loads.
- Choose a repair material that fits the kind of damage, not just the color of the slab.
- Prepare the surface thoroughly so the repair can bond and last.
- Build a maintenance routine that protects the repair and the surrounding concrete.
Not every crack means the same thing. Hairline cracks often appear as concrete cures or ages and may be mostly cosmetic at first. Wider gaps, crumbling edges, and areas where one side sits higher than the other deserve closer attention. As a practical rule, many homeowners can handle narrow, stable cracks with a flexible filler, while larger cracks with chipping or vertical displacement may point to a base problem under the slab. If water pools nearby after rain, the issue is not merely the crack itself; drainage may be feeding it.
Climate matters more than many people realize. Water expands by roughly 9 percent when it freezes, which means even a small amount trapped in a crack can enlarge the opening over time. Sun exposure also plays a role. Repeated heating and cooling cause expansion and contraction, and concrete responds slowly but steadily to that stress. In older driveways, the binder at the surface may weaken, making the slab more likely to scale or flake around repaired areas if preparation is rushed.
Take notes before doing anything else. Measure the crack with a ruler, photograph it, and check whether nearby control joints are intact. Notice whether tree roots, downspouts, or vehicle turning paths line up with the damage. This simple inspection turns a vague problem into a manageable project. It also helps you decide whether you are repairing a symptom or finally dealing with the source.
Choosing the Right Repair Method: Fillers, Patches, and Resurfacers Compared
Concrete repair works best when the material matches the problem. That sounds obvious, yet many failed repairs happen because a homeowner buys the first tub labeled “concrete fix” and expects it to solve every type of damage. In practice, repair products vary in flexibility, bonding strength, cure time, and ideal crack size. Choosing wisely can mean the difference between a neat repair that lasts through the season and a brittle strip that pops out after the next storm.
For narrow horizontal driveway cracks, flexible sealants are usually the most practical option. Acrylic and latex fillers are easy to use, affordable, and often suitable for minor cosmetic damage. They are convenient for beginners, especially in small areas, but they may not hold up as well in driveways exposed to stronger movement or repeated freeze-thaw cycles. Polyurethane sealants generally provide better flexibility and adhesion, making them a stronger choice for outdoor cracks that expand and contract with weather. Some versions are self-leveling, which works well on flat surfaces, while non-sag formulas are more useful where you need tighter control during application.
Cement-based patching compounds serve a different purpose. They are useful when the crack includes chipped edges, shallow holes, or spalled spots where the concrete face has broken away. These products can rebuild missing material, but they are less ideal for active cracks that keep moving. An epoxy product may sound appealing because it is strong, but rigidity is not always helpful outdoors. In a driveway, a repair that cannot flex at all may separate again if the slab continues to shift with temperature and moisture.
- Use flexible filler for narrow, stable cracks in otherwise sound concrete.
- Use a patching compound for chips, broken edges, and shallow surface loss.
- Use backer rod in deeper cracks so you do not waste sealant filling unnecessary depth.
- Use a resurfacer only when the slab is structurally sound but broadly worn or stained.
Resurfacers deserve special mention because they are often misunderstood. They can freshen a tired driveway and hide widespread minor blemishes, yet they are not structural medicine. If a slab is sinking, rocking, or breaking apart, resurfacing alone is like ironing a wrinkled shirt with a torn seam. It improves the surface look but does not repair the underlying cause.
Read the product label carefully before purchase. Temperature ranges, cure times, moisture requirements, and traffic-readiness vary widely. Some fillers can accept light foot traffic in hours, while vehicles may need to stay off the driveway for a day or longer. Most residential driveways are around 4 inches thick, but the surface condition and local weather matter more than slab thickness when choosing a crack repair product. A good match is rarely the most glamorous option; it is the one that fits the movement, exposure, and size of the damage in front of you.
How to Repair Concrete Driveway Cracks Step by Step
Save money and boost curb appeal with our fast, foolproof guide to fixing concrete driveway cracks.
A driveway repair day tends to reward patience more than force. The job is usually straightforward, but the quality of the result depends heavily on preparation. If the crack still contains dust, loose grit, weeds, or damp residue, even a good filler can struggle to bond. Think of the repair as a handshake between old concrete and new material; if one side is dirty or unstable, the connection remains weak. A calm, dry day with moderate temperatures is often the best time to work, especially if the product label warns against rain, direct midday heat, or freezing conditions.
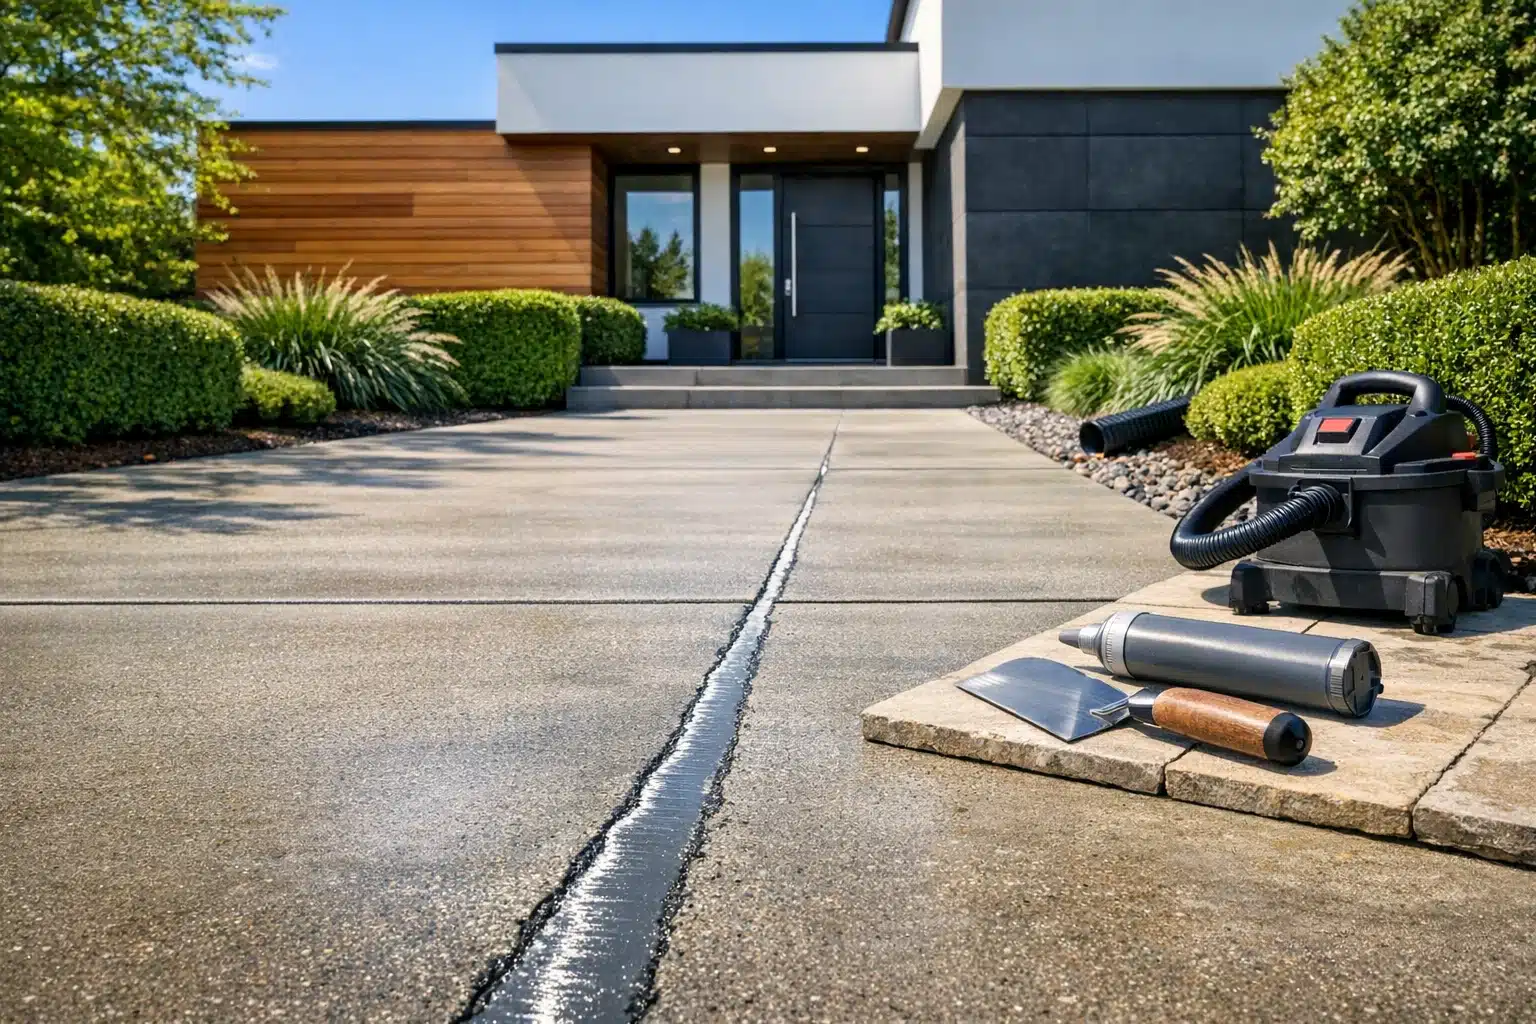
Start by cleaning the crack thoroughly. Use a screwdriver, margin trowel, or crack-cleaning tool to remove stones and loose fragments. Follow with a wire brush and a shop vacuum to lift out fine dust. If oil stains are nearby, wash the area with a concrete-safe cleaner and allow it to dry fully. Some homeowners skip this waiting period, but moisture trapped in the crack can interfere with adhesion. When the opening is deeper than it is wide, insert foam backer rod before adding sealant. This simple step saves material and helps the filler maintain the proper shape, which improves flexibility.
- Wear gloves and eye protection before scraping or brushing.
- Clean deeper than the visible surface, not just the top line.
- Use backer rod in deep cracks to avoid overfilling.
- Follow the manufacturer’s cure time before walking or driving on the area.
Next, apply the repair product slowly and deliberately. Self-leveling sealants will spread on their own, so use them only on flat horizontal cracks where runoff is not a concern. Non-sag products require more tooling, but they give better control around uneven edges. Fill the crack slightly proud of the surface if the product instructions recommend tooling, then smooth it with a putty knife or trowel. For patching compounds, press firmly so the material keys into the roughened concrete instead of sitting loosely on top.
Several mistakes are common. Overfilling can leave a raised bead that catches tires and draws attention. Underfilling creates a channel that traps water again. Repairing in full blazing sun may cause the product to skin over too quickly, while working just before rain can dilute the surface and spoil the cure. Another frequent error is treating an expansion joint like an ordinary crack. Joints are designed to move, so they need materials meant for movement rather than hard patch compounds.
When the repair cures, step back and inspect it from a few angles. Morning light often reveals imperfections the afternoon hides. If the crack is sealed, flush, and supported, you have done more than improve appearance. You have interrupted the cycle of water entry, freeze damage, and gradual surface loss that turns small flaws into expensive replacements.
Driveway Maintenance Tips That Keep Repairs from Returning
Repairing a crack is useful, but preserving the repair is what saves real money over time. Driveway maintenance is less about heroic weekend labor and more about quiet consistency. A few habits repeated across the year can slow down staining, edge breakdown, and moisture-related damage. Concrete may look solid and permanent, yet it performs best when homeowners treat it like any other exposed building surface: inspect it, clean it, protect it, and manage the water around it.
Begin with drainage. Water is the most common long-term enemy of a driveway, especially when it lingers. Make sure downspouts do not discharge directly onto the slab or at its edge. Extensions can move runoff farther away, and small grading corrections can reduce puddles that repeatedly soak the same areas. If one section of the driveway always stays dark after rain, that location deserves attention even if no crack is visible yet.
Routine cleaning matters more than many people expect. Dirt, leaves, and fertilizer residue can trap moisture and discolor the surface. Oil drips from vehicles should be treated early, because stains become harder to remove once they soak into porous concrete. A stiff broom, hose, and occasional concrete-safe cleaner usually do enough for regular upkeep. Pressure washing can help, but too much pressure held too close may roughen the surface, especially on older slabs.
- Sweep debris away before it collects in joints and corners.
- Redirect roof runoff so water does not repeatedly cross the slab.
- Clean spills promptly to reduce staining and surface weakening.
- Check the driveway edges, where soil loss can leave concrete unsupported.
- Reinspect old repairs after winter and after heavy rain.
Sealing can also extend the life of a driveway when used properly. A penetrating sealer helps reduce water absorption, while film-forming products may enhance appearance but can require more attention to application conditions. Many sealers need reapplication every few years, though the real interval depends on traffic, climate, and the product itself. More is not always better. Applying sealer too thickly can cause uneven curing or a blotchy finish, especially if the slab was not fully clean and dry first.
Winter care deserves special caution. Deicing chemicals may contribute to surface scaling on vulnerable concrete, and newly placed concrete is especially sensitive during its first cold season. Sand for traction can be gentler than aggressive deicing use, though it should still be swept away later to prevent abrasion. Heavy loads near unsupported edges can also create trouble; avoid parking large vehicles in the same weak corner if the driveway was not built for that stress.
Think of maintenance as a chain of small decisions. Each one looks minor on its own, yet together they determine whether a repaired crack stays quiet or becomes the opening line in a more expensive story.
A Practical Conclusion for Homeowners: Build a Simple DIY Upkeep Routine
For homeowners who prefer practical work over complicated renovation plans, concrete care fits best into a broader property upkeep routine. A driveway does not fail in isolation. Problems often connect to gutters, grading, nearby walkways, garage thresholds, lawn irrigation, and even tree growth. When you look at the driveway as part of the whole exterior system, maintenance becomes more strategic and far less frustrating. You are no longer reacting to every flaw as a separate emergency. Instead, you are managing patterns before they gain momentum.
A useful DIY approach is to break the year into short check-ins. In spring, inspect the slab for widening cracks, flaking, or low spots that held winter moisture. In summer, clean thoroughly and decide whether sealing makes sense. In autumn, clear leaves and confirm drainage paths before wet weather settles in. In winter, watch how meltwater moves and keep harsh treatment to a minimum. This kind of schedule does not demand professional-level expertise, only observation and follow-through.
- Keep a small repair kit with gloves, a wire brush, a putty knife, and the right crack filler.
- Photograph repaired areas once or twice a year to monitor movement.
- Track where puddles form so drainage fixes can be targeted.
- Inspect adjoining hard surfaces such as sidewalks and patio edges at the same time.
Just as important is knowing when not to push a DIY fix too far. If one side of a crack sits noticeably higher than the other, if a slab panel rocks under weight, or if a repaired section opens again quickly, the cause may lie below the surface. Repeated settlement, root pressure, poor base compaction, or drainage failure can require professional evaluation. Calling for help at that point is not giving up; it is simply choosing the right tool for the job, and sometimes the right tool is trained diagnosis.
The good news for most homeowners is that many driveway issues respond well to early action. Clean cracks, the correct repair product, sensible sealing, and better water control can preserve both function and appearance for years. If your goal is to keep the front of your property looking cared for without overspending, start small and stay consistent. A tidy, stable driveway improves first impressions, reduces trip hazards, and supports the larger habit of looking after your home with confidence rather than delay.